

You see, when I saw their DIY fence & backdrop signage, my head just about exploded because I loved this idea so much.
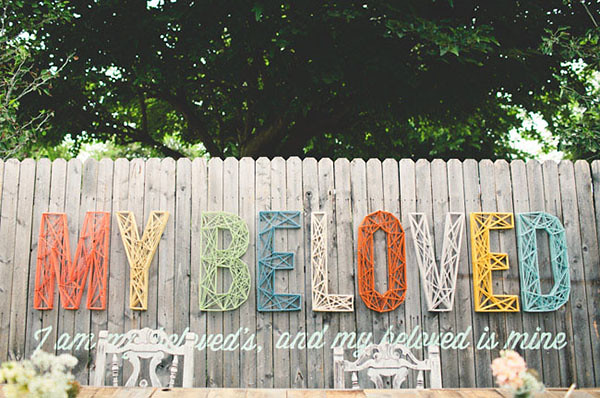
SO great, right???
Well, of course that lead to hours spent on google & pinterest searching and finding tons of other inspiration images. And, once again, I was reminded how many incredibly creative and talented people there are in the World.
Case in point:
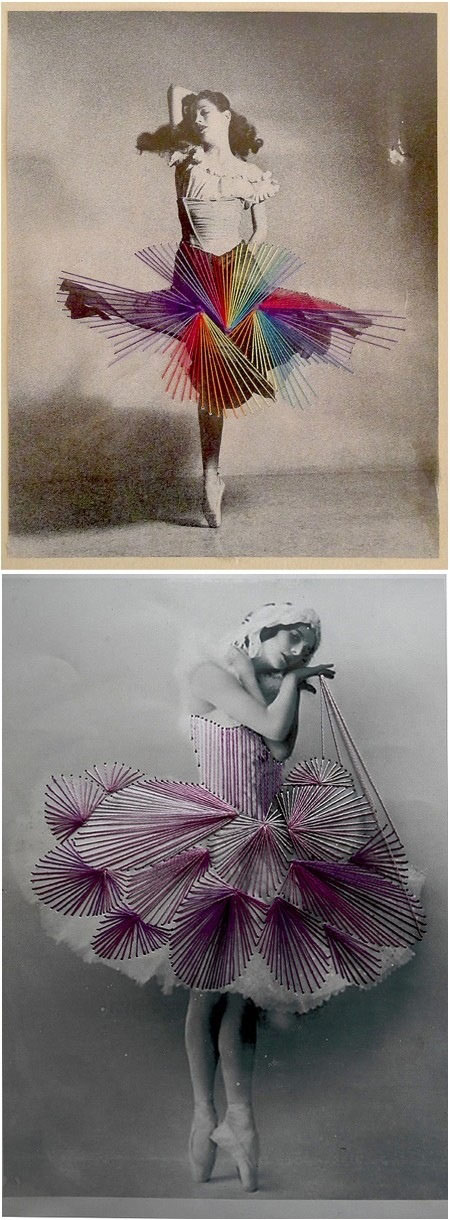
These ballerinas have totally twirled their way into my heart.
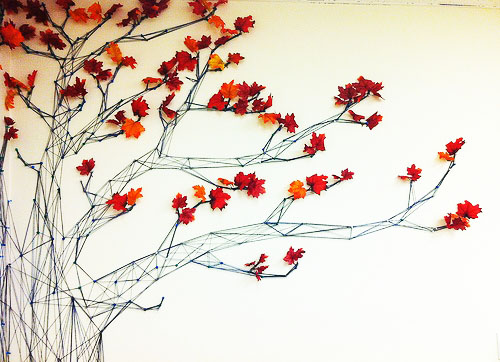
This installation is super lovely too. Megan Geckler, you are brilliant!

Hi there, pretty little tree.
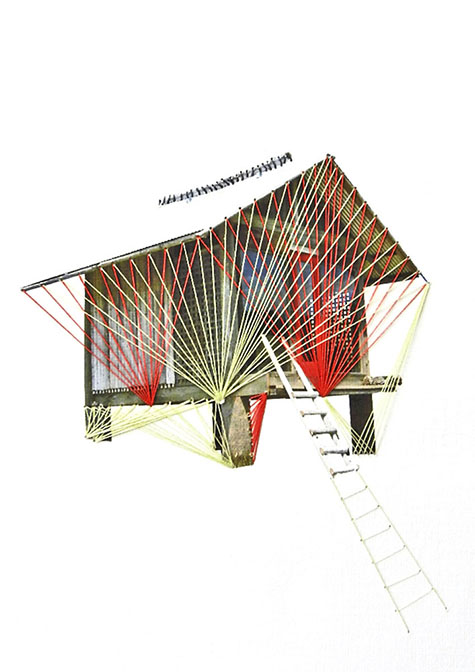
And these stairs??? Endless amounts of gorgeousness here.

Oh my. And thanks to the Jealous Curator via Emily Henderson, I'm crushing on these "Sewn Houses" (which are totally attainable btw...yay!) by artist, Hagar Vardimon-van Heummen. Such a great name, right?
Yes. All of these artists are aaaah-mazing. But let's get back to the (simpler) art of string letter making.
Now, if only I had thought to look up a tutorial on-line (there are several) before I decided to start this project. Why oh why must you make things so difficult, Cham+Thom? No tutorials for me. I just knew that I had the space and needed some art. So here's what happened...
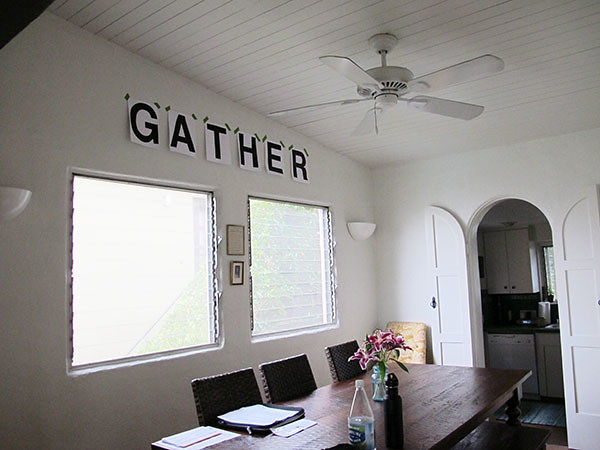
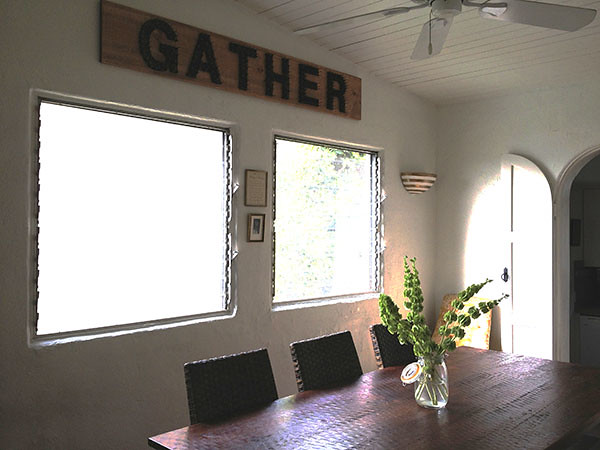
I came up with the idea to do a string art project with the word, "GATHER"; it would hang in the dining room over our table. First I printed up the letters and simply taped them to the wall. Truly, I probably left them up there for a week or so...just to see if this idea of mine would stick.
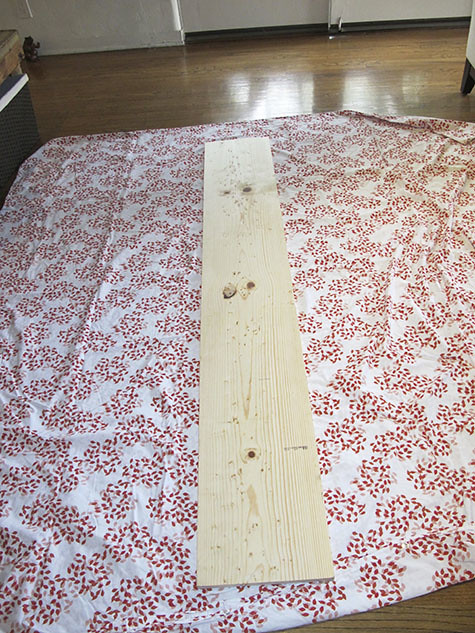
And it did. So I bought myself a piece of wood, stained it and let it dry.
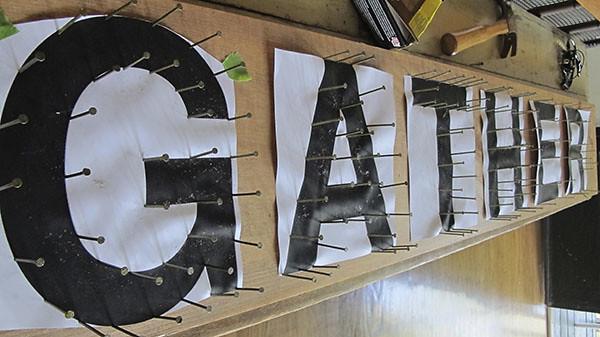
Next I taped my paper letters onto the piece of wood and hammered in the nails, outlining each letter. This is where one of those online tutorials would've come in handy. After the fact, I learned that I should've placed the nails equal distance apart all the way around the letters. Oops. We just randomly nailed in those suckers. And of course, things turned out just fine in the end BUT I can see how having the nails evenly placed would've been super helpful.
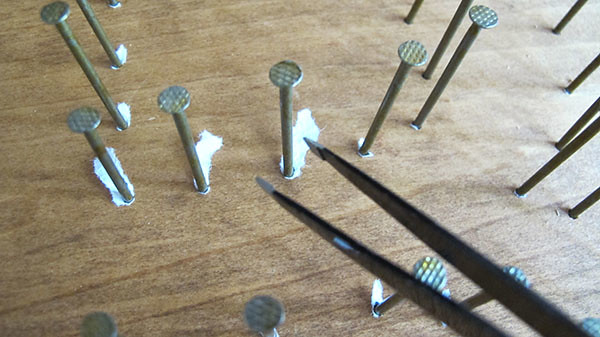
I then went about removing the paper. Hmmm... All those teensy weensy white paper dots sticking out where the nails attached to the wood? Well, that was not planned and not good at all. And quite frankly, a major pain in my arse.
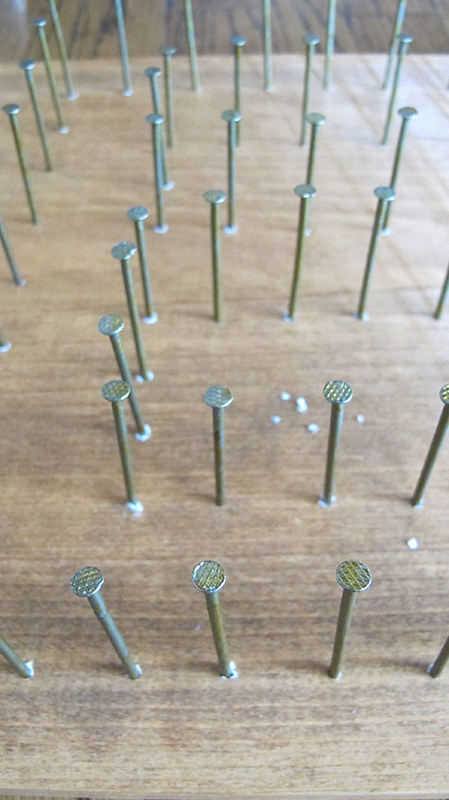
Thank goodness for tweezers.
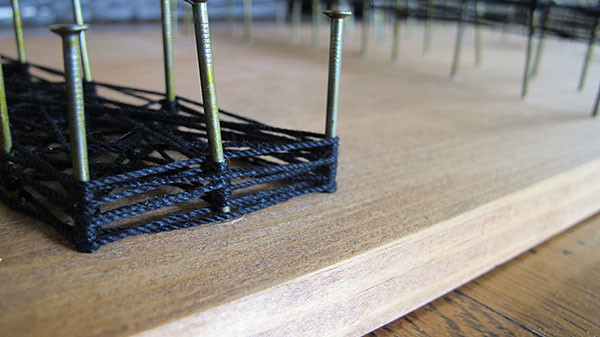
Once I had removed as many of the paper specs as possible, I got busy with my string. I simply tied a knot around one of the nails and then randomly wove the string through the nails. Of course, I'm absolutely positive that there must be a "correct" way to do this. Again, a tutorial may've been helpful. For me though, the random pattern worked and I'm happy with it.
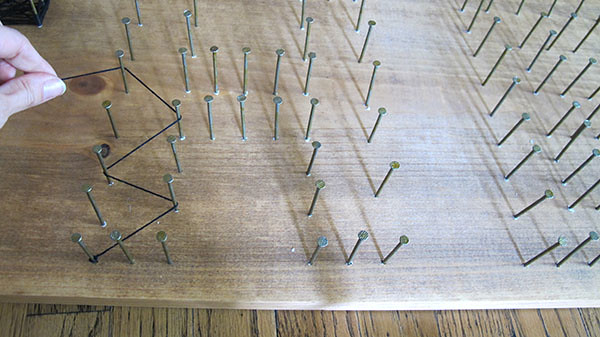
With Chase & Aaron's sign in mind, I started off using a thicker yarn. Soon though, I deduced that the letters on their sign must've been way larger than mine. For my project, I thought the yarn looked a little bulky. So back to Michaels I went and I grabbed some Crochet Thread.
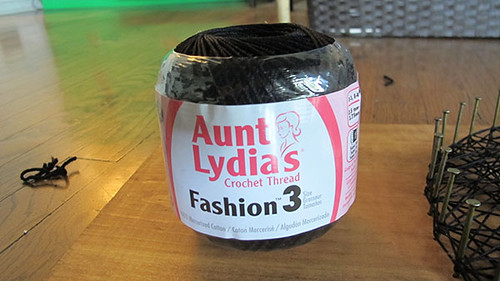
It took me forever to get to this amount of thickness and for me, it does the trick. I suppose I could always add to it later though...if I ever feel like torturing my poor little fingers again.
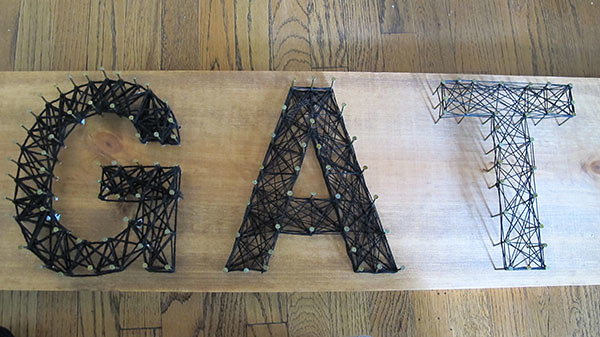
In this photo I'm testing the yarn (on the "G") versus the crochet thread (on the "A"). I didn't want to unravel the "G" until I was totally sure that I wanted to go with the thread. You can also see the difference between a completed letter (the "A") and the beginnings of weaving (on the "T"). As I mentioned earlier, I decided that the thread was the way to go. It only took me FOREVER to re-do that "G".
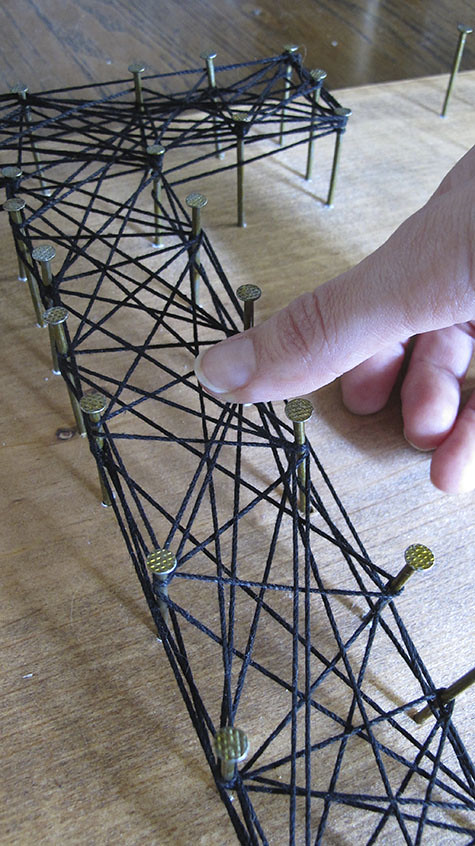
What we ended up with was some rather lovely string art, folks. I love that, at first, you don't even realize it's string and nails.
A closer look though, and all is revealed. Hello, crooked nails. Why must you torment me so?
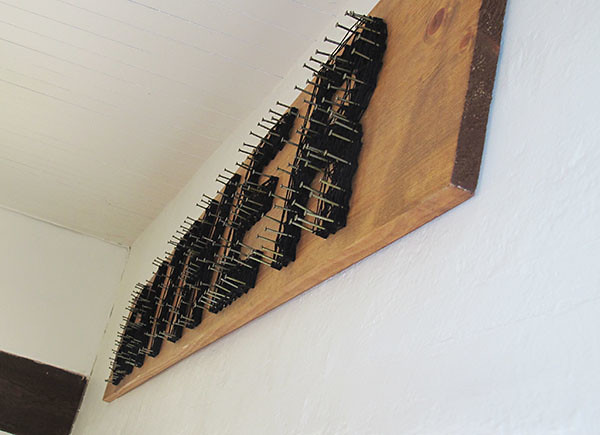
It's not perfect, of course. But here at Camp Cham+Thom, we love it.
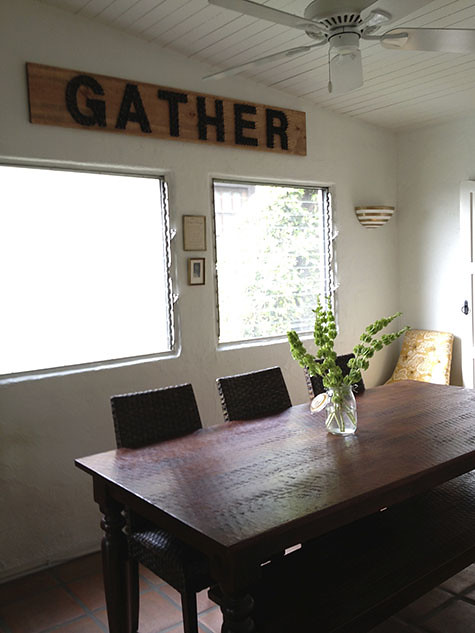
Slowly but surely the dining room is coming together. Next up, is the garden wall! And perhaps one of these days, the addition of some sort of colorful window treatments? Hmmm... I'll keep you posted.
No comments:
Post a Comment